Multipitch Atlas

Marinaio di Foresta

Pedra Longa (Baunei) · Sardinia · Italy

CommittingBolting confidence: high

An airy, mostly left-rising traverse that spirals round the Pedra Longa sea stack to its summit, on water-runnelled grey walls and pocketed white rock right above the sea. It has become one of the most popular routes in Sardinia, so expect queues.

Pedra Longa, the 128 m limestone tower on the Baunei coast, seen from the shoreline rocks at its foot.Photo: Vincent_H · CC BY-NC-ND 3.0

Photo

Pedra Longa, the 128 m limestone tower on the Baunei coast, seen from the shoreline rocks at its foot.Photo: Vincent_H · CC BY-NC-ND 3.0
Hardest pitch
6a+
Pitches
7
Length
190 m
Approach
5 min
Aspect
E
East-facing
Rope
1×60 m
(walk-off) or 1×70 m

The route

Overview

A seven-pitch, 190 m line that spirals leftwards round the Pedra Longa sea stack from the rocks at the water's edge to a real summit. The rock is sharp, water-runnelled grey limestone with one steeper pocketed white wall on pitch 5 (the 6a+ crux, which can be pulled through on the bolts). Protection is good stainless bolts and the approach takes five minutes, which is why it is one of the most popular multipitch routes in Sardinia. It is not a route you can easily abseil off, and the scrambling descent needs care.

In pictures

Photos

Approach photo

The climbing

Pitch by pitch

Pitches of Marinaio di Foresta
PitchGradeLengthBoltsNotes
P15c+30 m7 boltsSteep wall on water-runnels, finishing with an awkward step left to a comfortable balcony. Graded 5b by PlanetMountain but most recent parties call it 5c+ to 6a; a hold may have broken. Don't carry straight on up the jugs: the bolts go left. The bolting here is the most spaced on the route and the rock needs some care. Chained belay (the only one).
P25c20 m7 boltsStraight up a fine runnelled wall for about 15 m, then a horizontal traverse left for about 5 m to a belay by a juniper. Turn left at the bolt with a cord loop on it; if you keep going up you end at belay 2 of Signorina Fantasia. The belay is out of sight until you traverse.
P36a35 m9 boltsUp and left on unusual knobbly rock (crux in the first metres), cross an arête, then an easier grey runnelled slab to a belay under a ledge. Many find it sustained 5c rather than 6a. You stand on a wedged block at the belay; be gentle with it.
P45a35 m4 boltsEasy, exposed leftward traverse along the big ledge under the roof, protected by a few bolts and several in-situ threads, then a short wall or corner and left again to the belay. This belay has an abseil ring (emergency escape only).
P56a+30 m9 boltsCrux pitch. Left onto a slightly overhanging white pocketed wall: a bouldery, physical start that is awkward to clip, then sustained climbing on slicker rock. Traverse left and cross an exposed arête to a belay on a step. Several parties feel it is 6b; the start can be aided on the bolts.
P65c+20 m4 boltsA superb vertical wall on flakes and big holds to a comfortable belay. Gulliver gives a single 6a move.
P75c20 m4 boltsTraverse left, pull through a short overhang and climb an overhanging corner or crack (easier on its left) to the top. The final belay is one glue-in bolt plus a juniper that you sling yourself. An old rope round a dead tree is in place; don't rely on it.

Getting there

Approach

To the parking

From Baunei take the SS125 towards Santa Maria Navarrese; just outside the village, at about km 150, turn left at the sign for Pedra Longa (restaurant) and follow the road down to the large car park by the bar-restaurant (40°01'38.9"N 9°42'21.3"E). Parking was free and roomy in recent reports. One party walked in from Santa Maria Navarrese.

On foot · about 5 min

5 minutes. From the car park by the restaurant go down the built steps towards the sea on the north side of the stack. At the bottom, leave them rightwards and follow the rocks along the foot of the cliff until the ledge ends at the corner of the east face. The route starts just before a big metal mooring ring; the name is painted on the rock. Rope up on the small platform 2 m before the ring.

Finding the route · 3 photos

Approach photo

Map of the walk-in

  • Crag
  • Parking

Loading map

The point marks the crag, not the exact start of the route.

Coordinates · crag

40.02740, 9.70708

Parking

40.02752, 9.70582

Pedra Longa (Baunei) (camptocamp access point)

Point from camptocamp waypoint 630621

For your phone or watch

Download GPX

Contains the route point and parking. Opens in most mapping apps and GPS watches.

Points are compiled from published sources, with the precision stated above. They were not surveyed on the ground: check them against a current topo.

Getting down

Descent

From the last belay an easy 50 m scramble leads to the summit. To get down, follow cairns and tracks down the normal route (UIAA II, with some exposed downclimbing on the arête), about 20 to 30 minutes back to the steps. To avoid most of the downclimbing use the bolted abseil station, which is marked but not obvious: about 15 m down the normal route, bear left of the main track to a rock step, downclimb 3 m and find the anchor on the downhill side of a huge white block next to a dead juniper. Sources give this abseil as 20 to 30 m; it lands on the normal route, and a second short abseil (from a tree with slings, or a second bolted station about 24 m, reachable with one 50 m rope) avoids the remaining downclimb. A single long 50 to 60 m abseil is not advised because ropes jam easily. Then a path leads past the single-pitch sector to the car park.

Retreat

Bailing off the route

Committing

No, not easily. PlanetMountain states the route cannot be abseiled. You can turn back at R2. After that the only equipped escape is from R4, and it ends at a sea-level ledge with an unprotected 5c traverse that is impossible in rough seas.

Retreat from
R2: the guide's sources say you can turn back there. R4 has an abseil ring for emergencies: a 20 m abseil to a juniper, then a 60 m abseil to a narrow ledge at sea level, then the 5c traverse back to the base. An unequipped step above R3 is also reported to lead to a ledge that joins the descent path.
Point of no return
R2. Past it the route traverses left on P3 and along the ledge on P4, and only R1 is chained. From R4 onwards the practical way off is up.
Carry
The R4 escape includes a 60 m abseil, which means two 60 m ropes. A single rope will not do it. Slings or cord and maillons to leave, since belays other than R1 are unlinked bolts.
Basis
Part stated, part inferredPlanetMountain states the route cannot be abseiled, and the R4 escape and the R2 turn-back come from the sources in the guide. The two-rope requirement is inferred from the 60 m abseil.

Partly inferred from the route facts

Safety

Hazards

  • Retreat is difficult. PlanetMountain states it is not possible to abseil the route. The only equipped escape is from belay 4 (abseil ring): a 20 m abseil to a juniper, then a 60 m abseil to a narrow ledge at sea level and an unprotected 5c traverse back to the base, impossible in rough seas (one party waded knee-deep).
  • With swell, waves reach the approach ledge and the first pitch; a party in April 2026 had their ropes soaked on pitch 1.
  • Rock on pitch 1 and on the pitch 4 ledge is less solid, there is a wedged block at belay 3, and unstable blocks have been reported on the last two pitches. With parties above and below, wear a helmet.
  • The descent has exposed downclimbing on poor rock and the abseil station is easy to miss. Several parties call it tricky; don't do it in the dark for the first time. Abseil ropes have jammed there.
  • Belays other than the first are unlinked bolts, and the top belay is a single glue-in plus a juniper. Bring material to build them.
  • The rock is very abrasive and sharp.

Sun and weather

Conditions

East to north-east facing. In the sun in the morning and in shade from late morning (shade from 11:00 in late October; start around 11:30 to 14:30 for shade in warm months). In winter one party found it shaded even at 09:30. Good from spring to autumn and on mild winter days. Dries very quickly in sun and wind. Very busy: go on a weekday out of season, very early or late in the afternoon, or expect queues of an hour or more at belays.

Usual season · Mar to Jun, Sep to Nov

Sun on the wall · E-facing

Working out the sunlit hours for this month.

  • January: not yet worked out
  • February: not yet worked out
  • March (usual season): not yet worked out
  • April (usual season): not yet worked out
  • May (usual season): not yet worked out
  • June (usual season): not yet worked out
  • July: not yet worked out
  • August: not yet worked out
  • September (usual season): not yet worked out
  • October (usual season): not yet worked out
  • November (usual season): not yet worked out
  • December: not yet worked out

Sun on the wallDaylight, wall in shade● Usual season

Estimated from the wall's aspect only. Ignores surrounding terrain, gullies and the wall's exact shape. Clock times are local to the wall (Central European time), for the 15th of each month.

Monthly climate averages for Sardinia, 1991-2020
MeasureJanFebMar (usual season)Apr (usual season)May (usual season)Jun (usual season)JulAugSep (usual season)Oct (usual season)Nov (usual season)Dec
Mean daily high °C141417202530343428241815
Mean daily low °C77911151922221916129
Rain days 1 mm or more9910118433771010

● marks the usual climbing season. Averages for 1991-2020 at about 100 m. Area climate from Open-Meteo reanalysis. Temperatures are adjusted to the height of the crag; rain comes from a grid cell of about 10 to 25 km, and summer highs on sea cliffs can read a few degrees low. The wall and valley can differ. Data: Open-Meteo, CC BY 4.0.

What to carry

Gear

Single rope: 60 m is enough if you walk off, 70 m is what camptocamp recommends. 12 quickdraws (sources range from 10 to 14). Slings or cord to link the belay bolts (only the first belay is chained) and one long sling for the juniper at the top. Helmet.

Checklist

Quickdraws
12
Rope
1×60 m (walk-off) or 1×70 m
Helmet
One each
Abseil device and prusik
The descent or the retreat involves abseiling
Slings
Mentioned for retreat
Maillons or spare karabiners
To leave behind if you retreat
Cord
Mentioned for retreat

Derived from the route data; check it against a current topo

From climbers

Reader reports

Reader reports are not being collected yet. Until they are, check a current topo and the local club or guidebook publisher for recent changes to Marinaio di Foresta.

Worth knowing

Tips

  • Pitches can be linked (for example 6+7) if you carry enough quickdraws.
  • If stuck behind a slow party after pitch 2 you can turn back there, or continue up the neighbouring route on the right. An unequipped step above belay 3 also leads to a ledge that joins the descent path.
  • Combine it with Easy Gymnopédie on the Aguglia di Goloritzè for a day in the shade (Aguglia in the morning, Pedra Longa in the afternoon).
  • PlanetMountain's photo gallery has a descent diagram worth saving.
  • Bar-restaurant at the car park.

Open questions

Where sources disagree

  • Pitch 1: 5b on PlanetMountain and camptocamp's Spanish text, 5c+ on camptocamp's French text, 5c on Gulliver, and 5c+ to 6a according to many 2024–2026 ascents. 5c+ is kept.
  • Pitch 4: 5a (camptocamp, PlanetMountain) or 5b (Gulliver). Pitch 6: 5c+ (camptocamp, PlanetMountain) or 6a (Gulliver). Pitch 5 is 6a+ everywhere but often felt to be 6b.
  • Rope: camptocamp says 70 m; PlanetMountain and Gulliver say 60 m is enough if you walk off.
  • Quickdraws: 10 (camptocamp French), 12 (camptocamp Spanish, PlanetMountain), 14 (Gulliver).
  • Descent abseil length: 30 m (camptocamp, PlanetMountain), about 20 m (Gulliver), two 15 m abseils (one 2024 party). Several parties walked down without abseiling at all.
  • Aspect: PlanetMountain's access text mentions the NW face but its data table, Gulliver and a commenter all say east.

Provenance

Sources

Same area

More in Sardinia

All routes in Sardinia
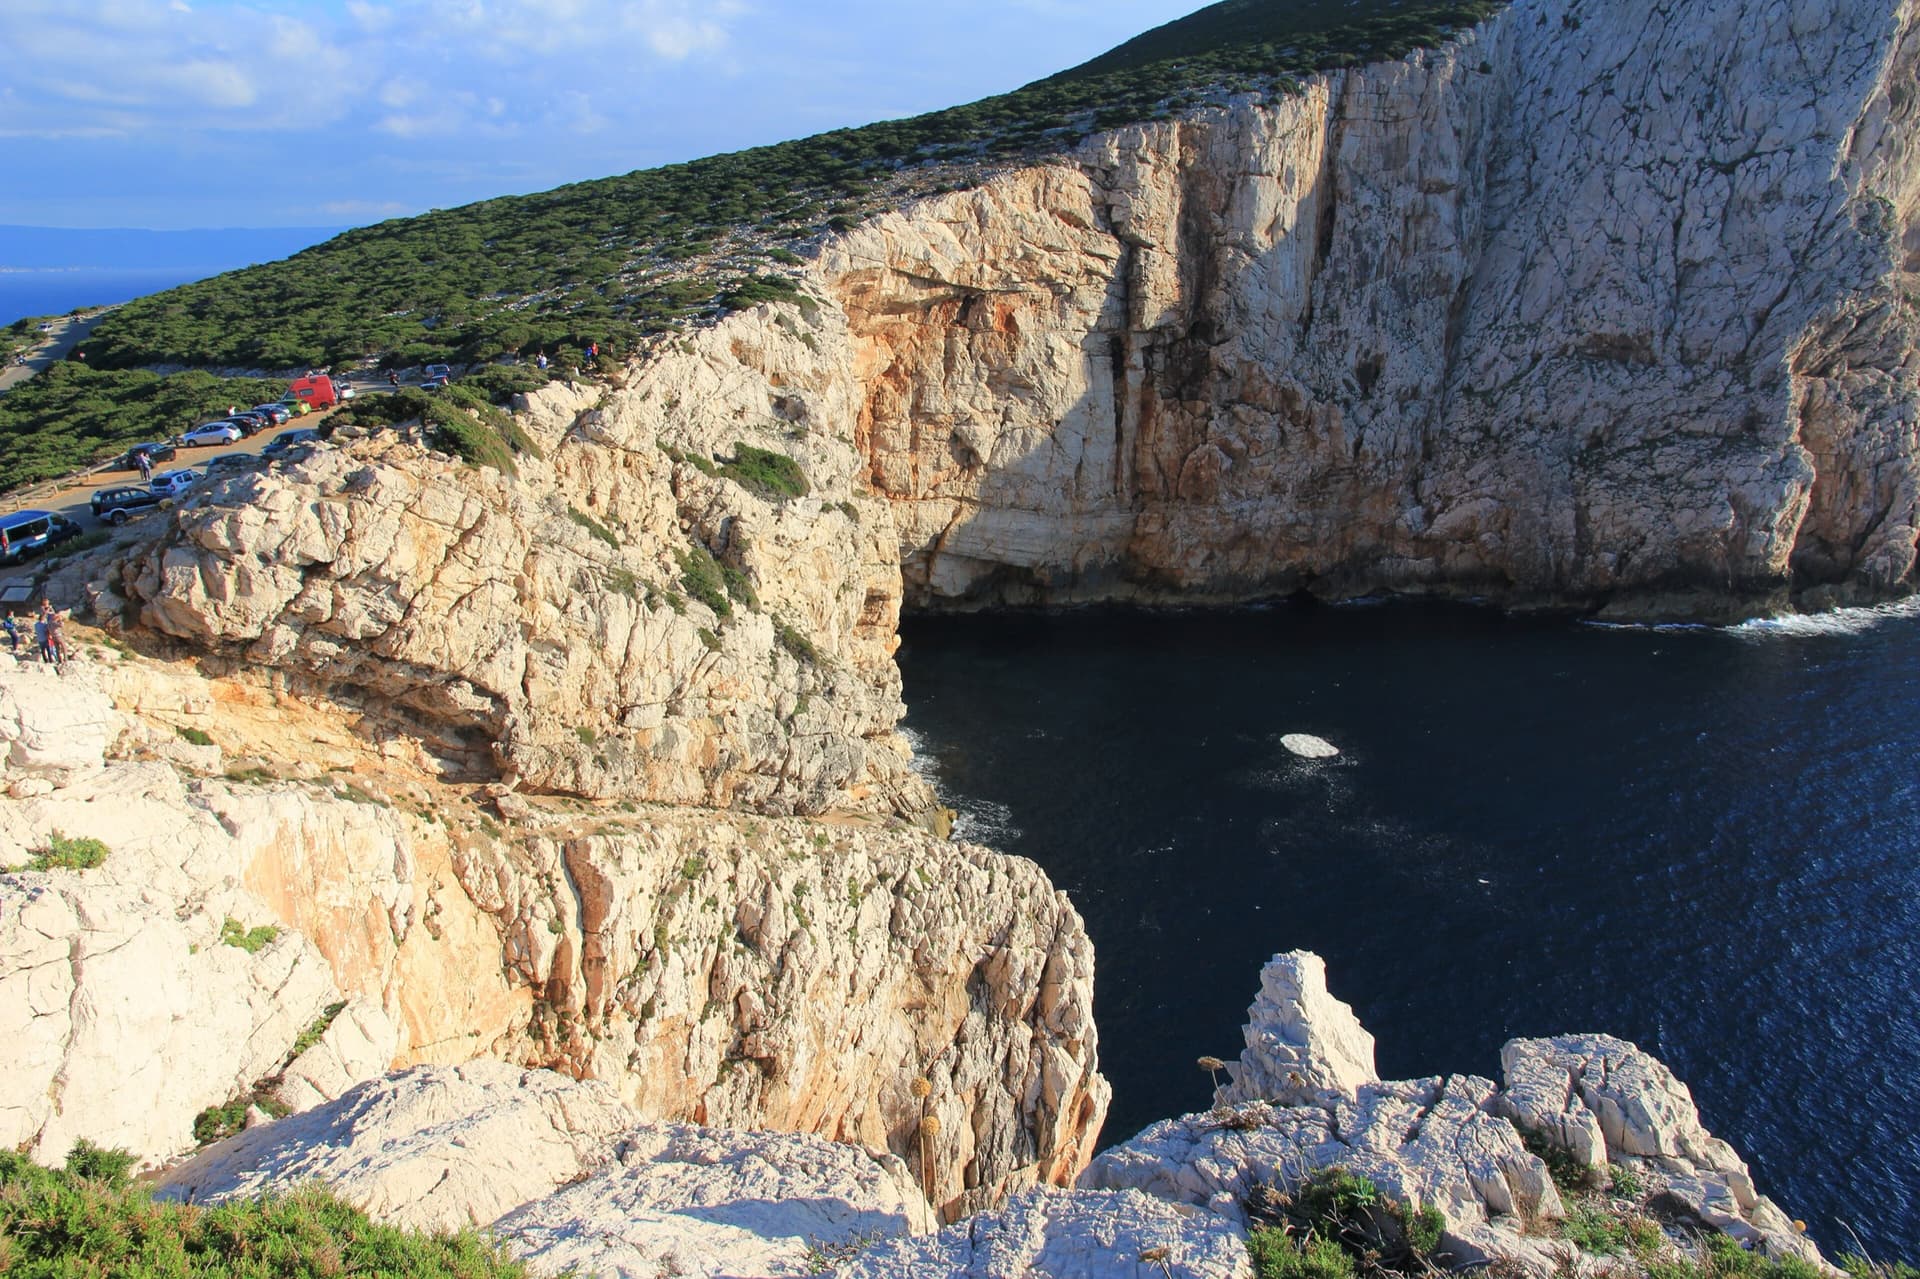
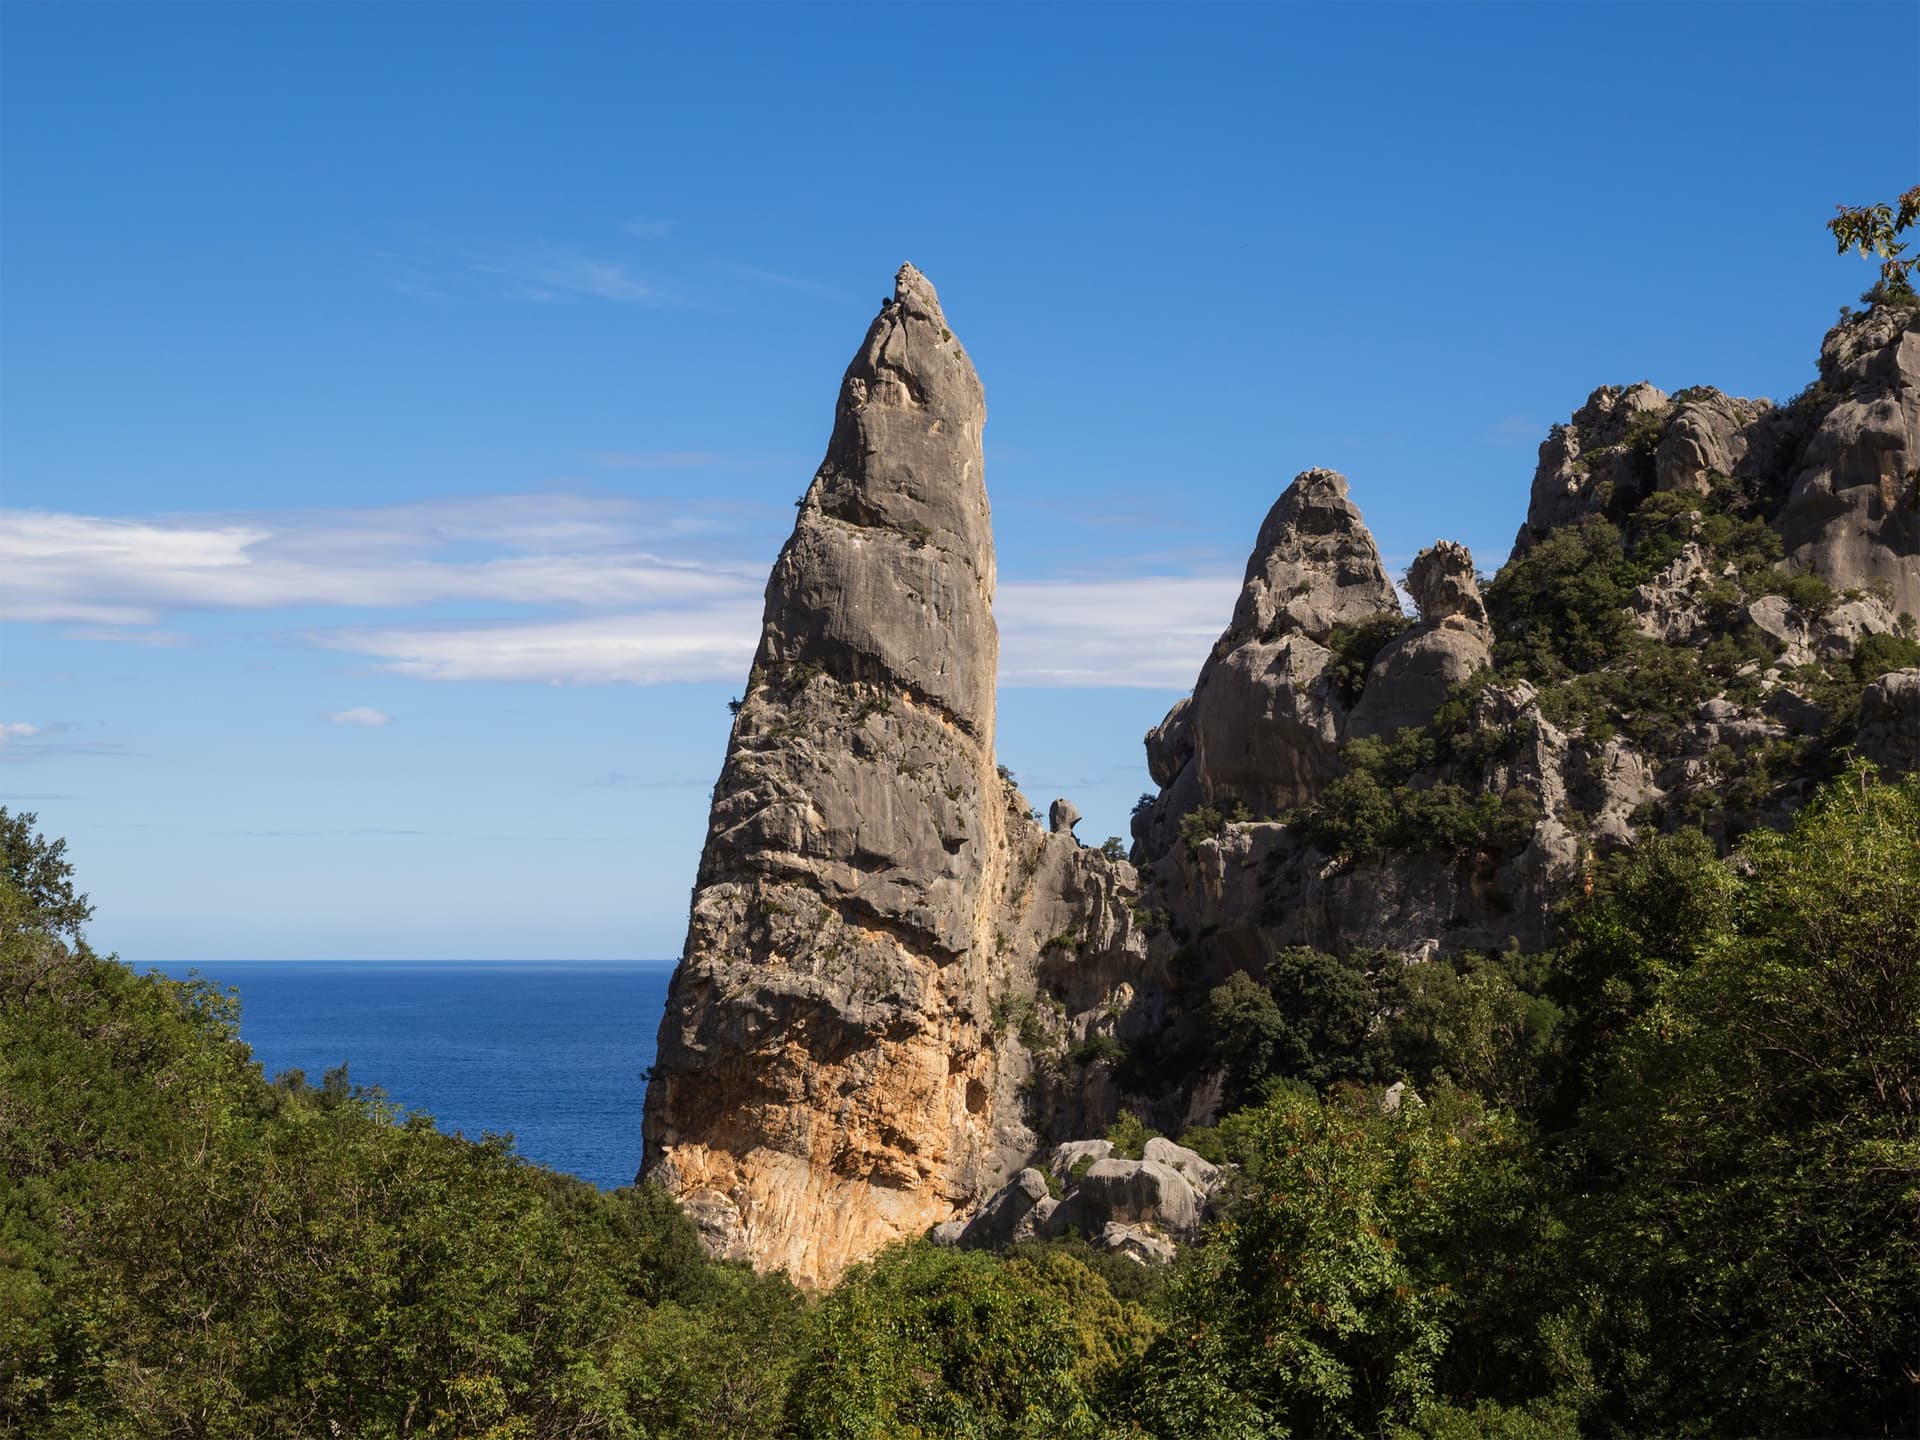
The Aguglia di Goloritzè, the 140 m limestone spire above Cala Goloritzè, seen from the approach path with the Gulf of Orosei behind.

Italy · Sardinia

Easy Gymnopédie

This is the easiest way to the top of Sardinia's iconic 140 m pinnacle above Cala Goloritzè. Short technical bulges and walls lead to a fine slab finish, and the harder overhangs can be aided. Gulliver splits it into 4 pitches; camptocamp gives 5. Check seasonal access rules for Cala Goloritzè before going.

6b5 pitches150 m

Read the cautions
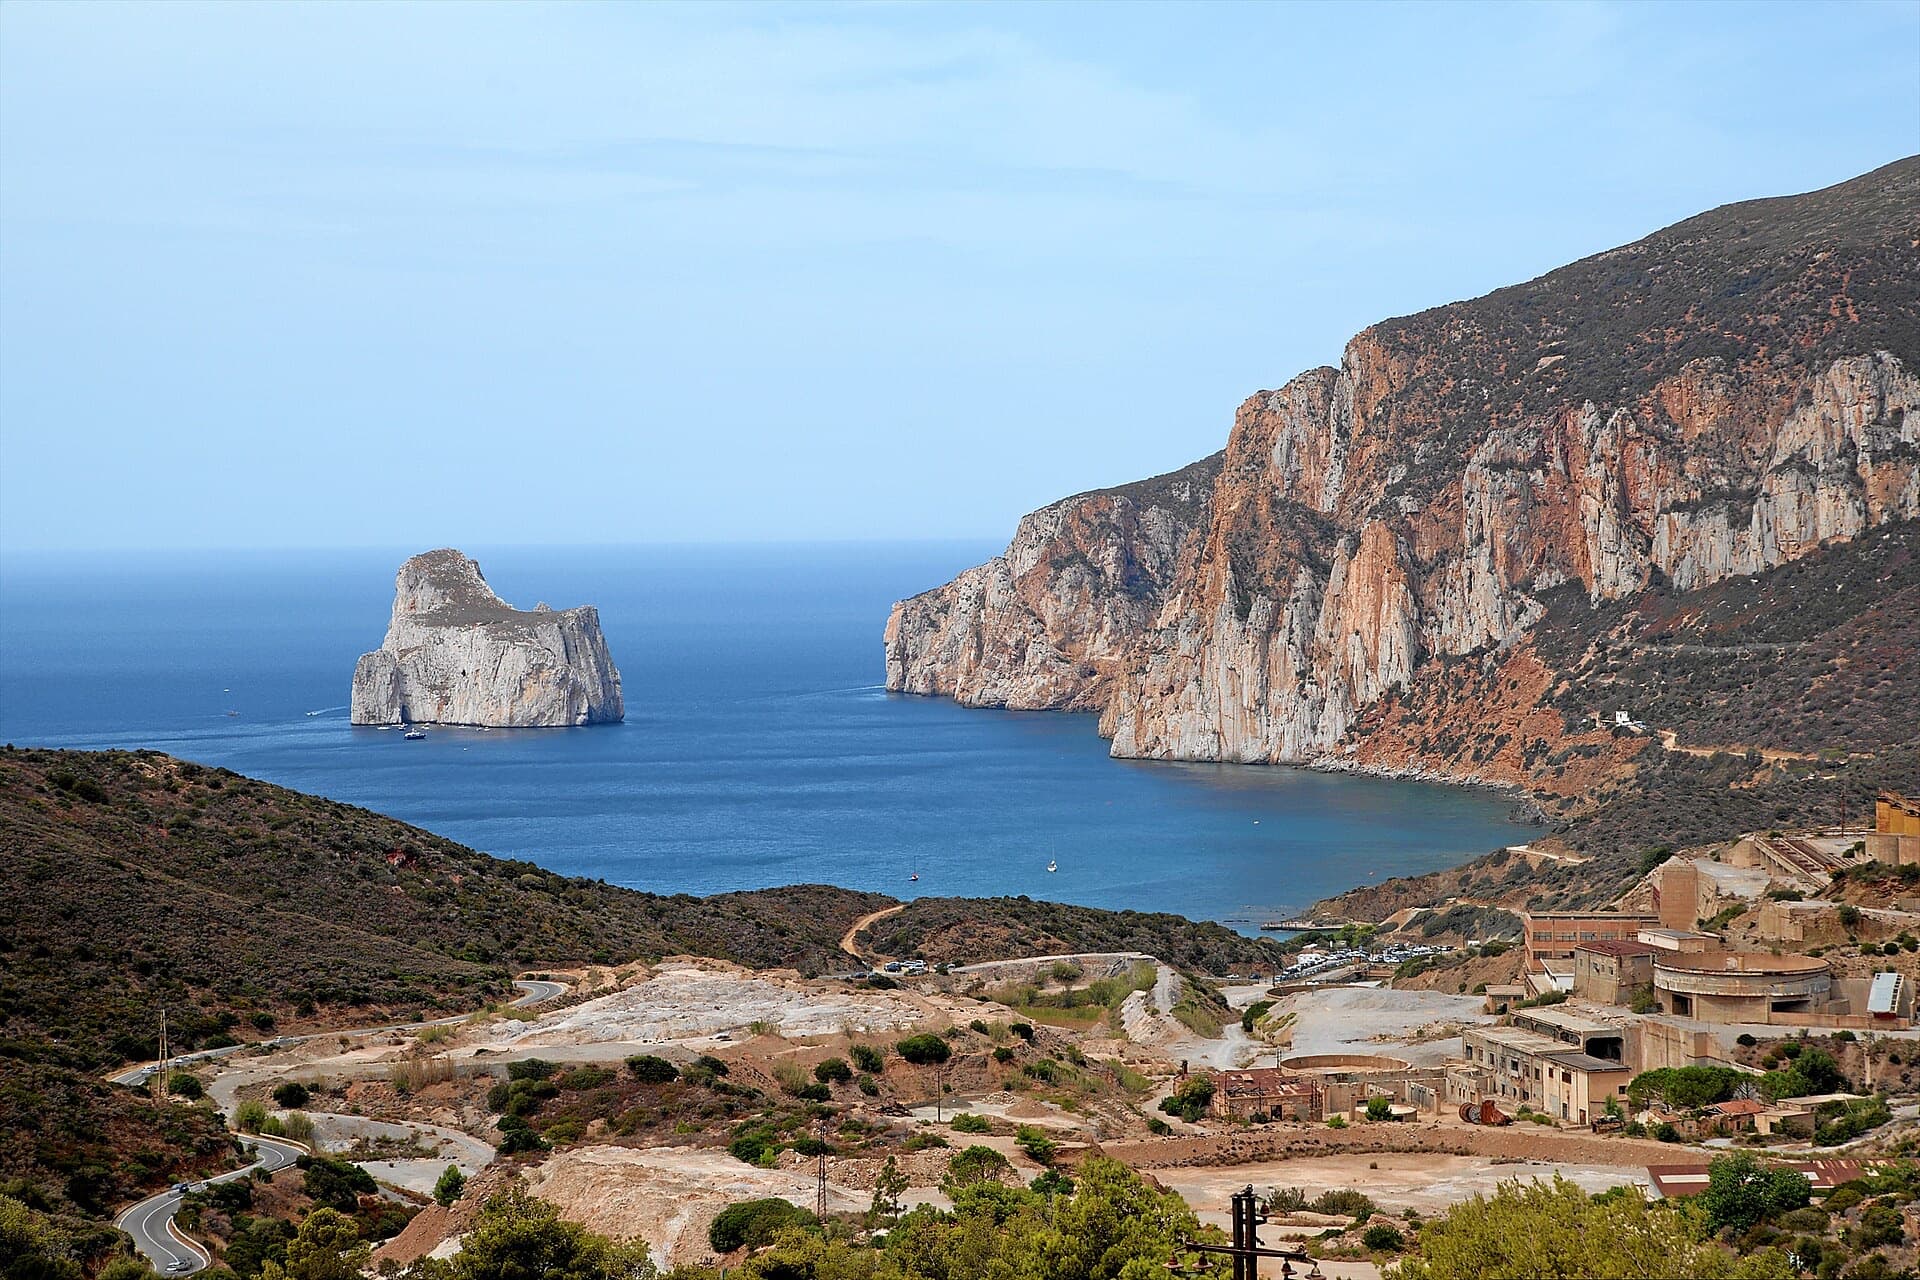
The orange limestone cliffs of Masua (right) above the old mine workings, with the Pan di Zucchero sea stack offshore.

Italy · Sardinia

L'Italia Liberata

A short but superb sea-cliff route on beautifully sculpted limestone in an incredible setting near Pan di Zucchero. Corners and an airy pillar lead to a steep, rounded 6a wall. Camptocamp rates it 'great'.

6a4 pitches120 m

The limestone sea cliffs of Capo Caccia below the Foradada viewpoint car park, dropping straight into the sea.

Italy · Sardinia

Powaqqatsi

The easiest line on the Capo Caccia sea cliff: six pitches of 4b to 4c on pocketed, sharply sculpted limestone above the open sea. You abseil in from the top and climb out. The first two pitches are vegetated; the climbing proper starts on the pitch 3 slab.

4c6 pitches145 m

Read the cautionsCommitting

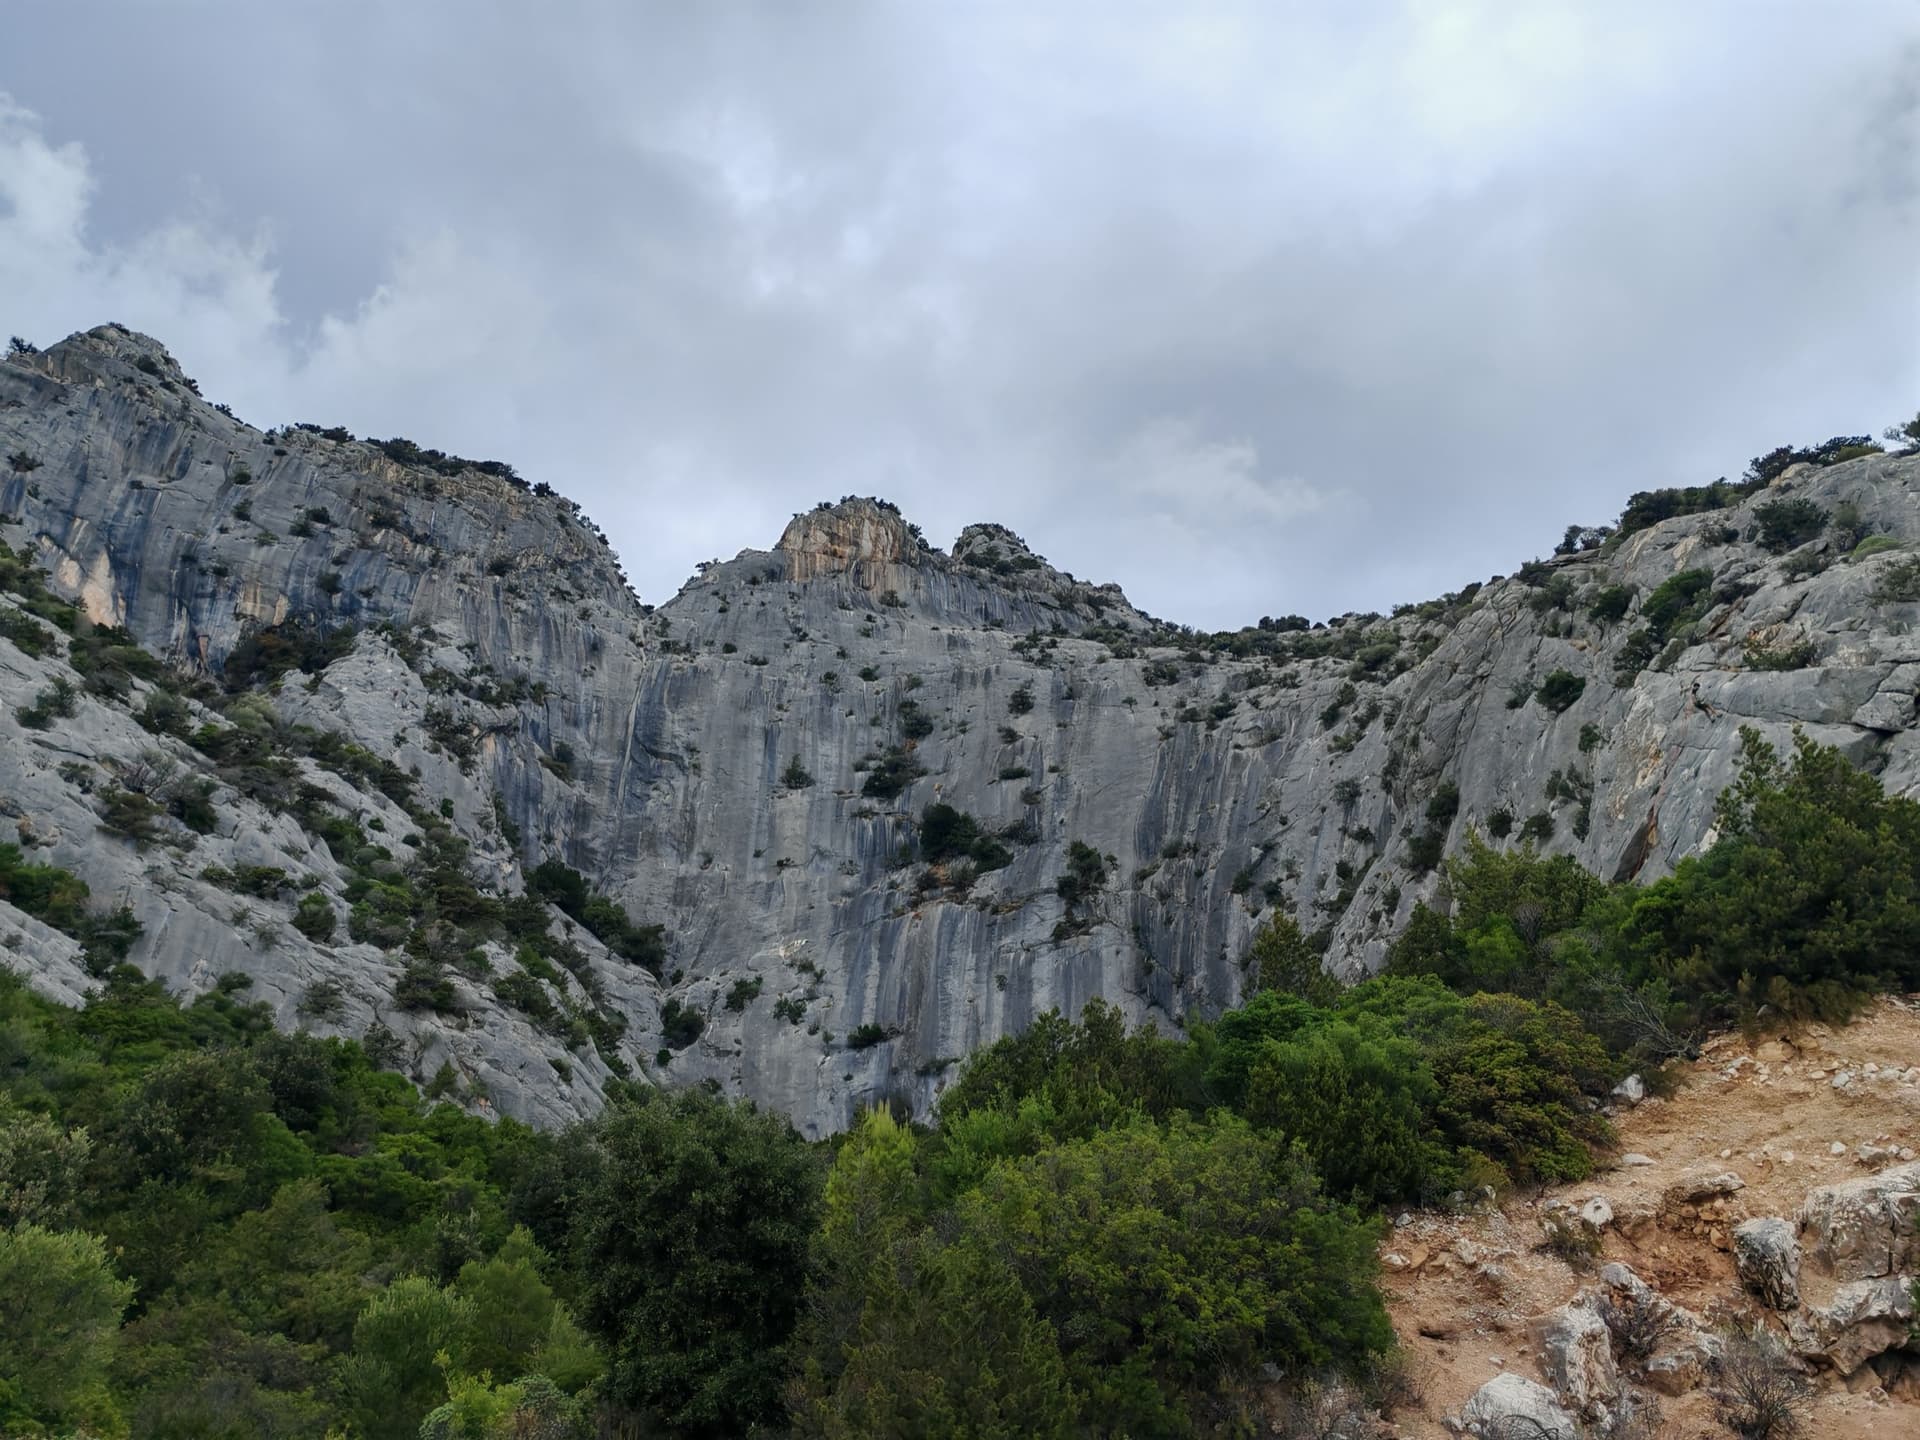
The grey limestone amphitheatre of La Poltrona above Cala Gonone, seen from the approach path.

Italy · Sardinia

Lilith

An easy and popular line on the big amphitheatre above Cala Gonone: three 4c pitches of juggy steps and easy-angled slabs, a short walk left through bushes, then a 35 m wall of heavily sculpted rock at 5a. Expect queues.

5a4 pitches120 m

Around 6a+ · about 7 pitches

Similar elsewhere

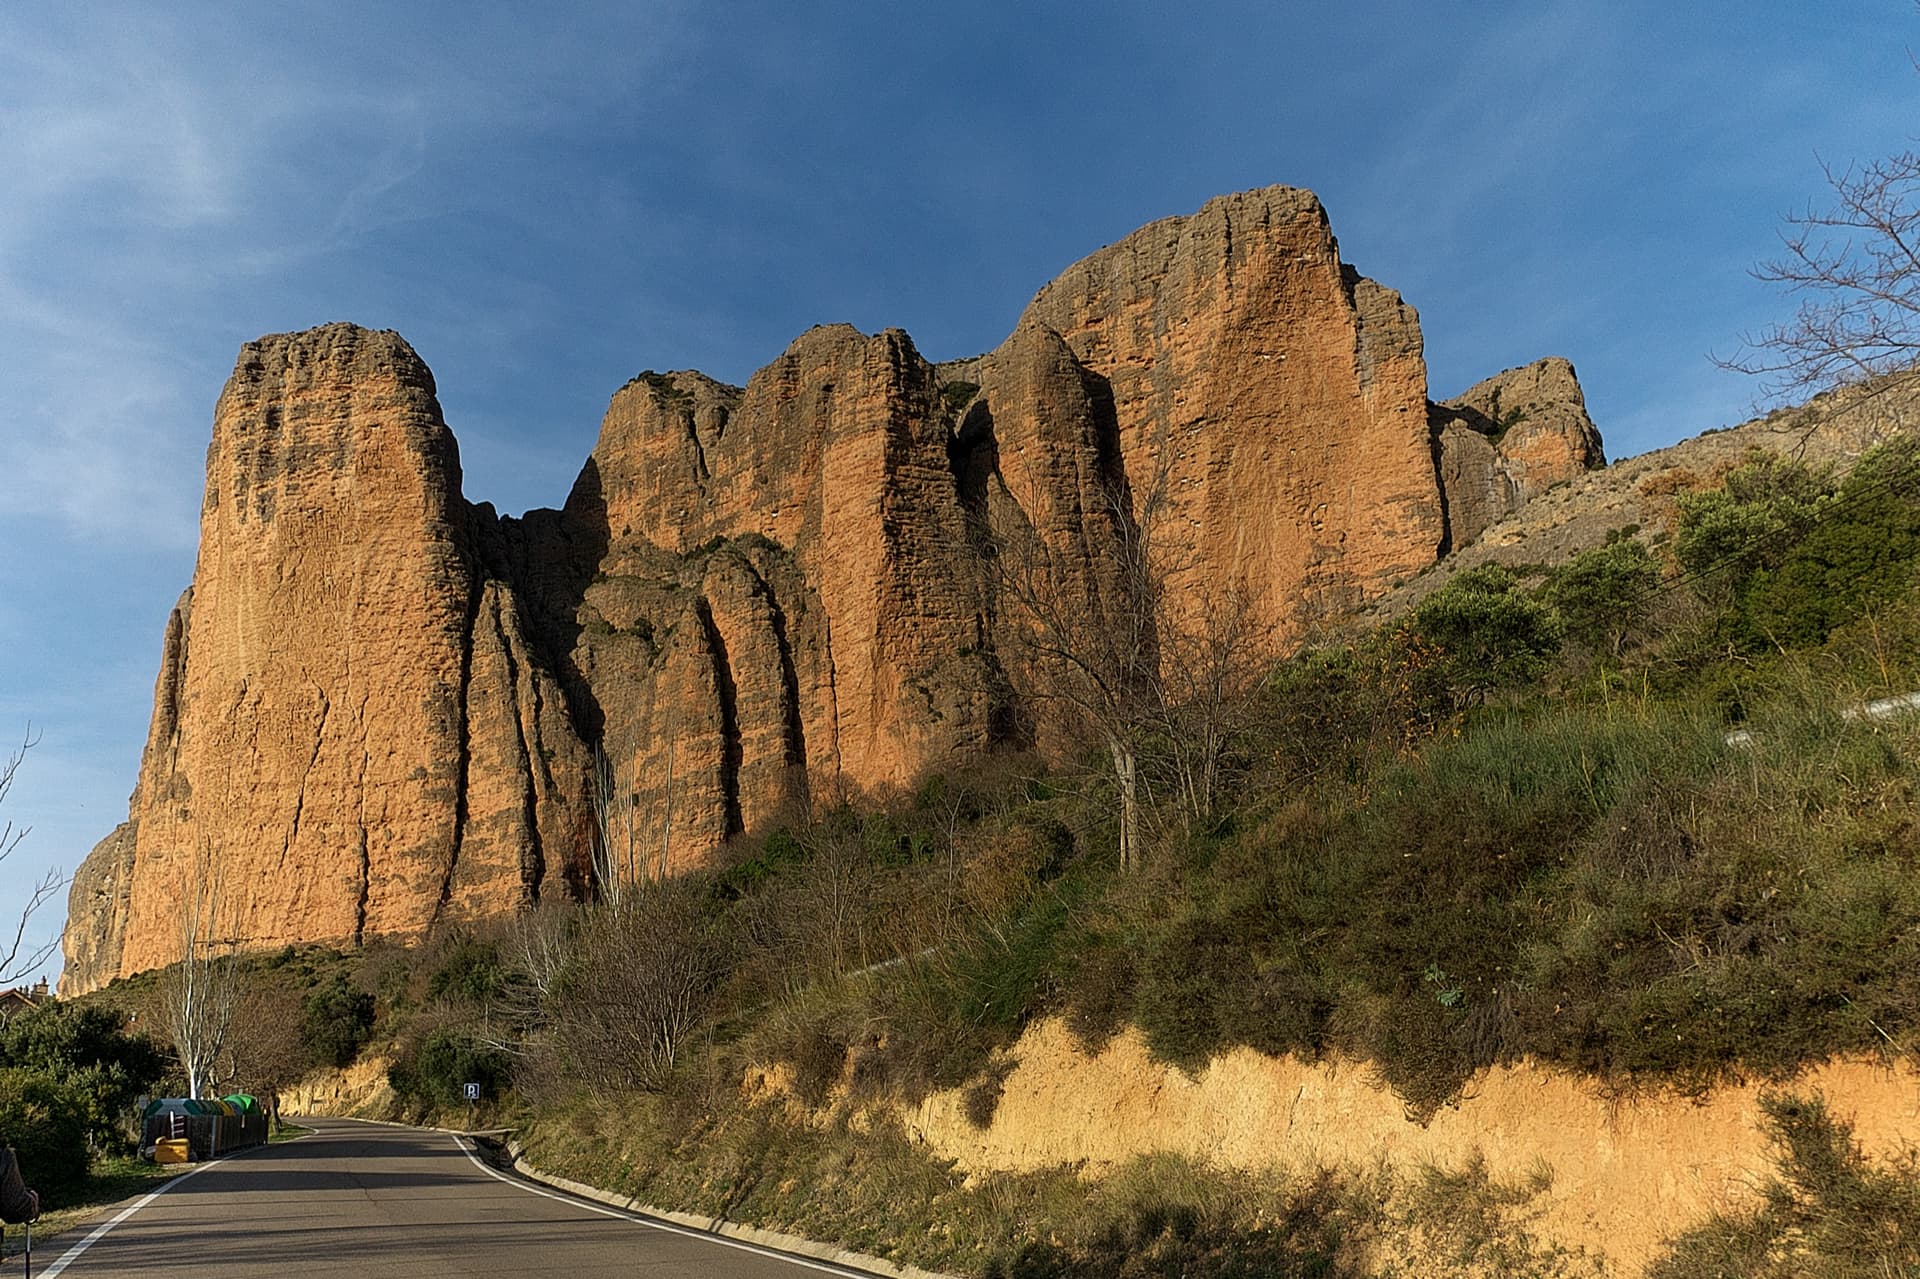
The south faces of the main Riglos wall in low sun, seen from the road into the village: Mallo Pisón on the left and the wall running right towards Mallo Frechín and La Visera at the right-hand end.

Spain · Riglos & Agüero (Mallos)

José Antonio Sanz

A good first route at Riglos: seven sustained 6a pitches on the spur of the Frechín, with a grandstand view of the Visera. Manage rope drag on the wandering first pitch.

6a+7 pitches180 m

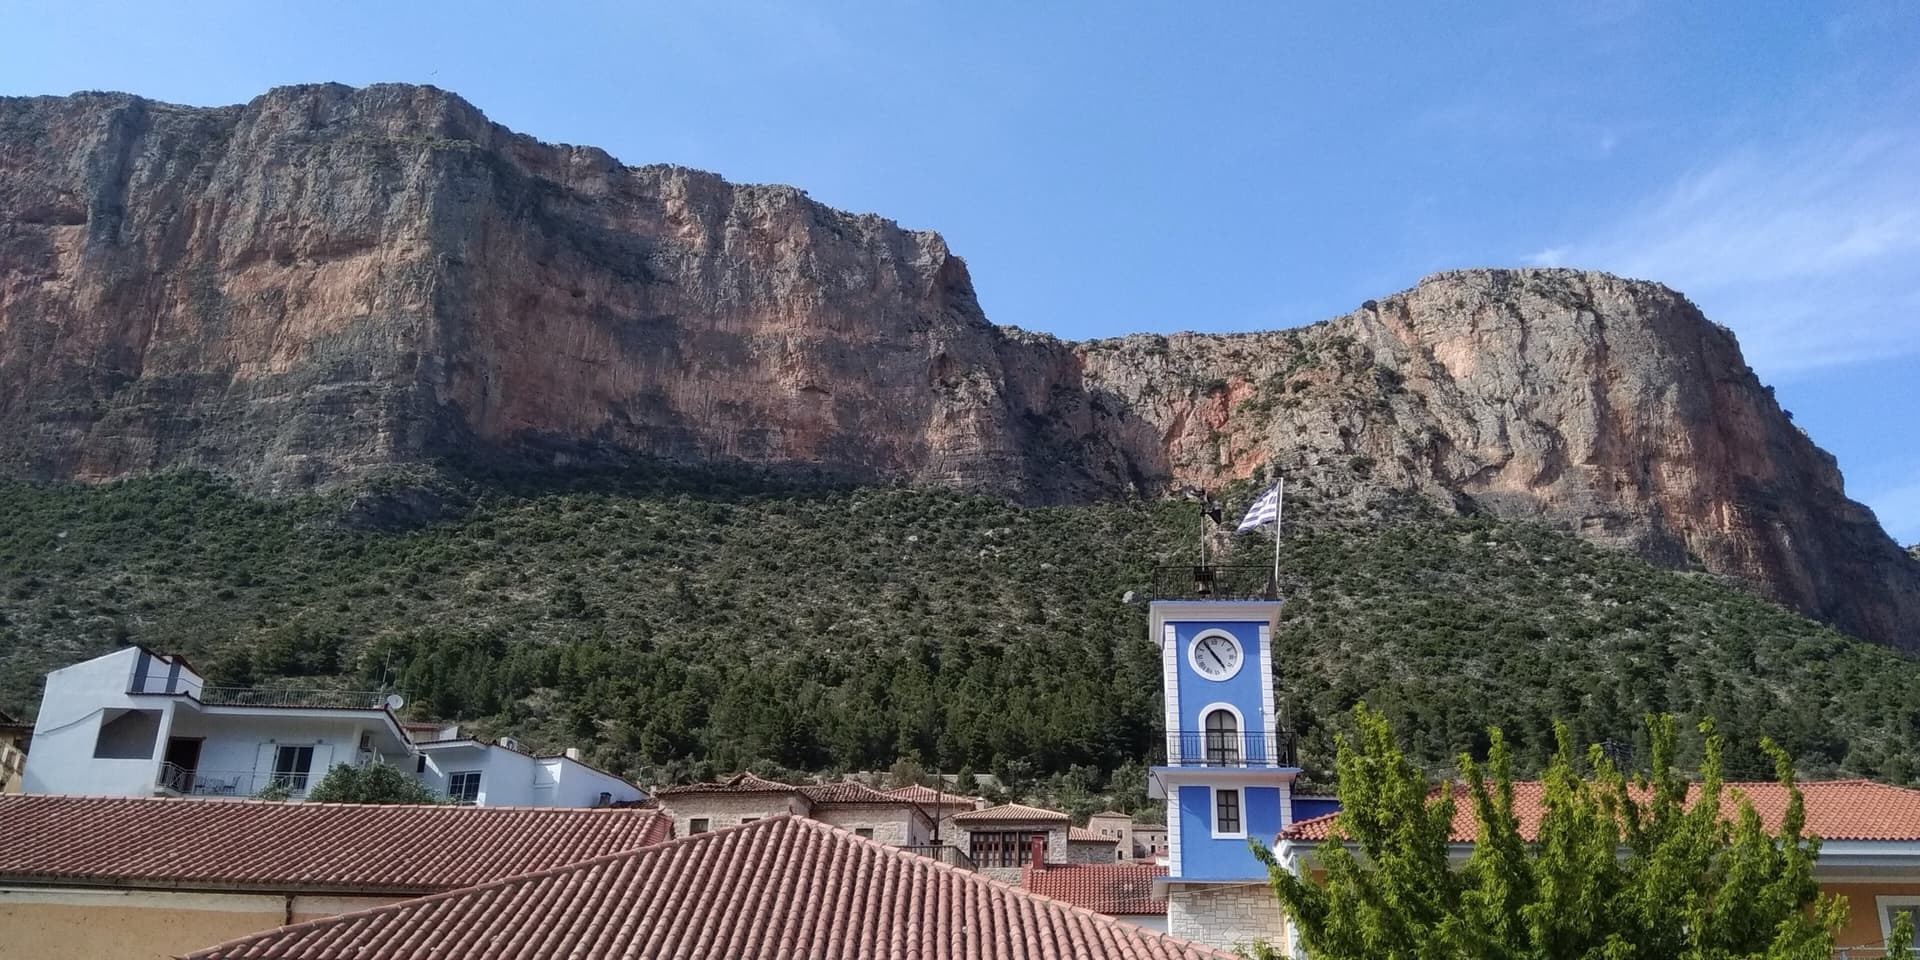
The red limestone wall of Kokkinovrachos rising directly above the rooftops and clock tower of Leonidio. Kapi Reborn is on the south-east face of this cliff; the exact line is not marked.

Greece · Leonidio & Kyparissi

Kapi Reborn

A newer pillar line with a pretty 45 m slab to start, a single interesting 6a+ crux on P4, and a final orange corner. It makes a good step up from Mignonette.

6a+7 pitches180 m

No photo yet

Greece · Crete

Le Syndrome de Calimero

An accessible gorge multi-pitch with views over the canyon, the sea and the little Orthodox chapel. It has steep juggy walls, a short traverse onto an arête and a corner with a jammed block (take care). The rock is less sticky higher up.

6a+7 pitches200 m

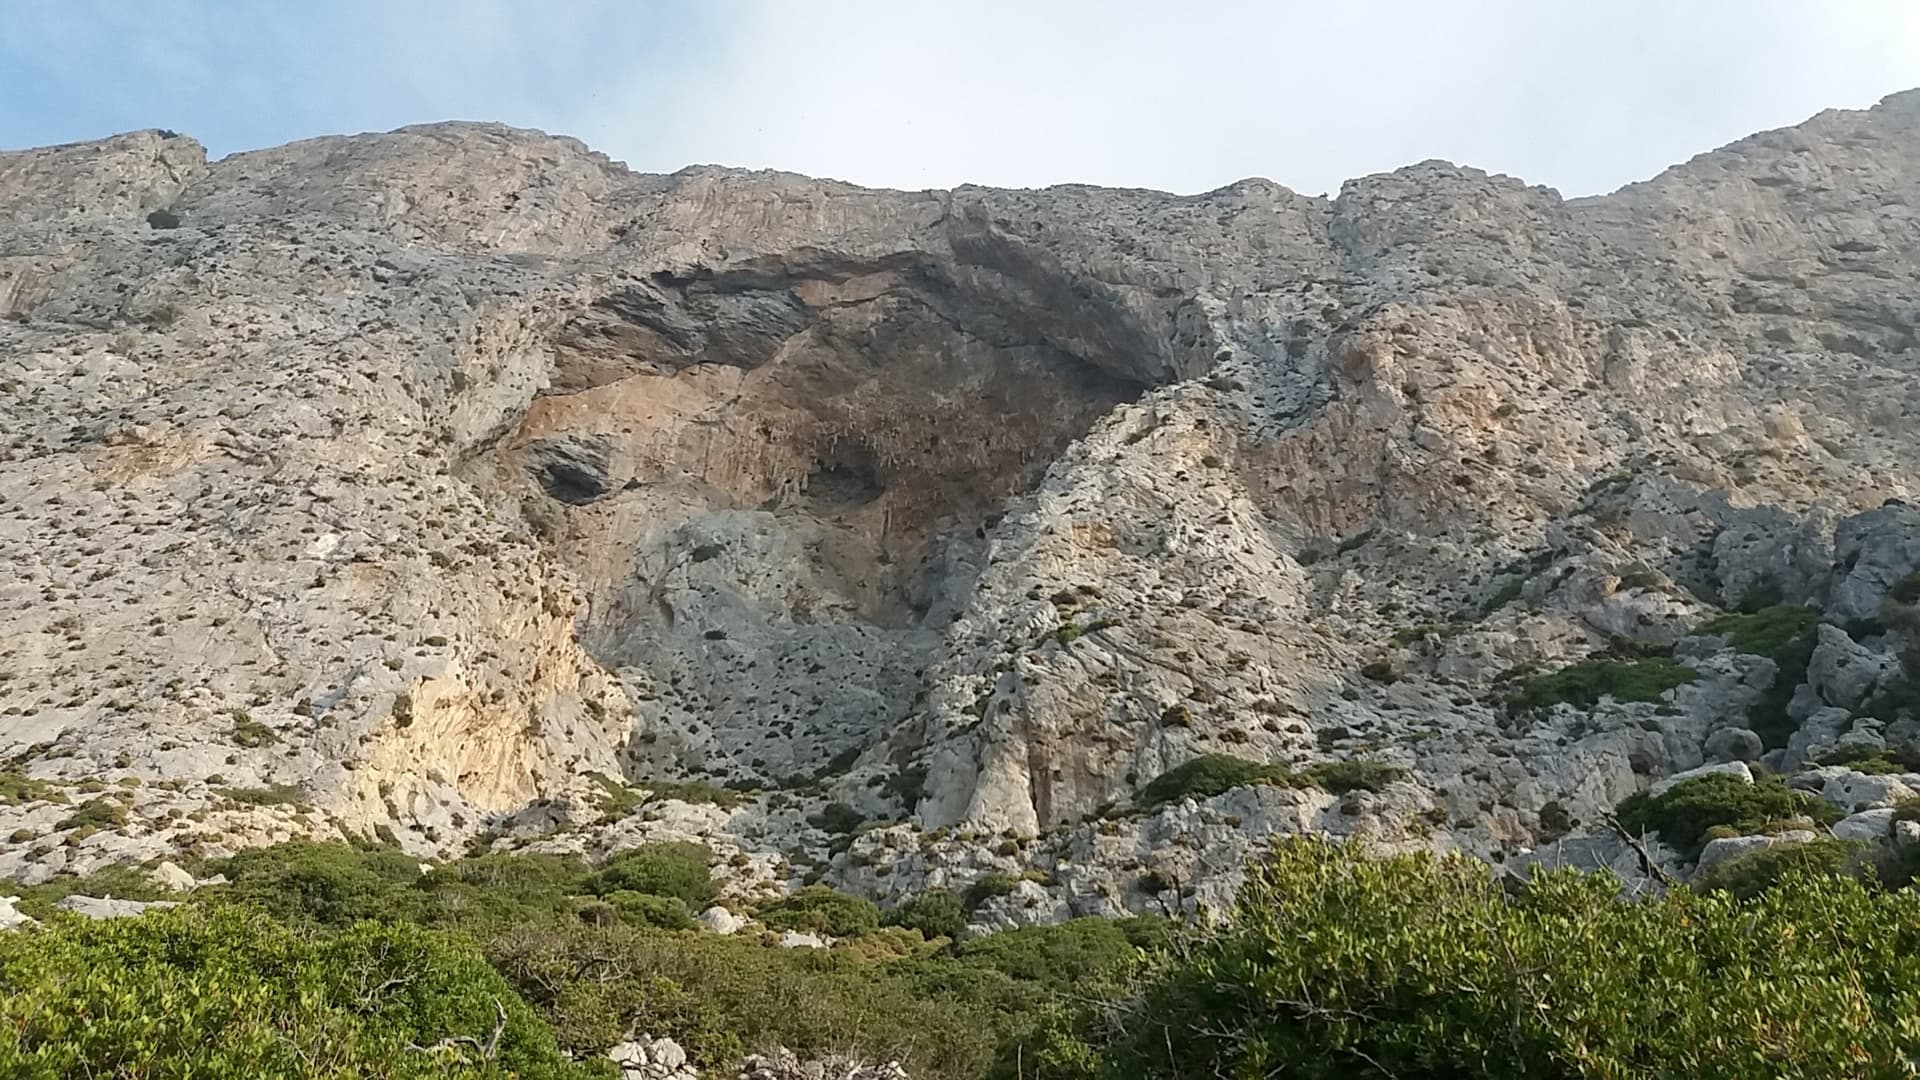
The south face of Telendos around its great cave, seen from the approach path.

Greece · Kalymnos & Telendos

Rita Telendos

Thin moves over small bulges, stemming and big jugs on 'cauliflower' limestone. The crux is P6, which ends at a hanging belay. Mountain Project gives the pitches in YDS only (5.8–5.10b), so French pitch grades are not listed; the overall grade is 5.10b (6a+), and some listings give 6b. You can link P3–P4 and P5–P6.

6a+7 pitches152 m

Read the cautions

Compiled from published sources and last verified October 2026. Bolts, anchors and access change. Climbing is dangerous and you are responsible for your own decisions: check a current topo and read the disclaimer.